Game Controller
Purpose
Apply SolidWorks to real work.
Design Process
Ever since, I had training in SolidWorks, I felt that I wanted to retain the newfound knowledge. I thought to myself that I should go BIG and design the 2021 F1 car through SoildWorks from a blank canvas. However, after talking to the suspension lead of Texas Guadaloop for tips, I decided the task was a little too big at the moment to finish within the remaining time of my winter break, so I decided to do a gaming controller.
Overview Process
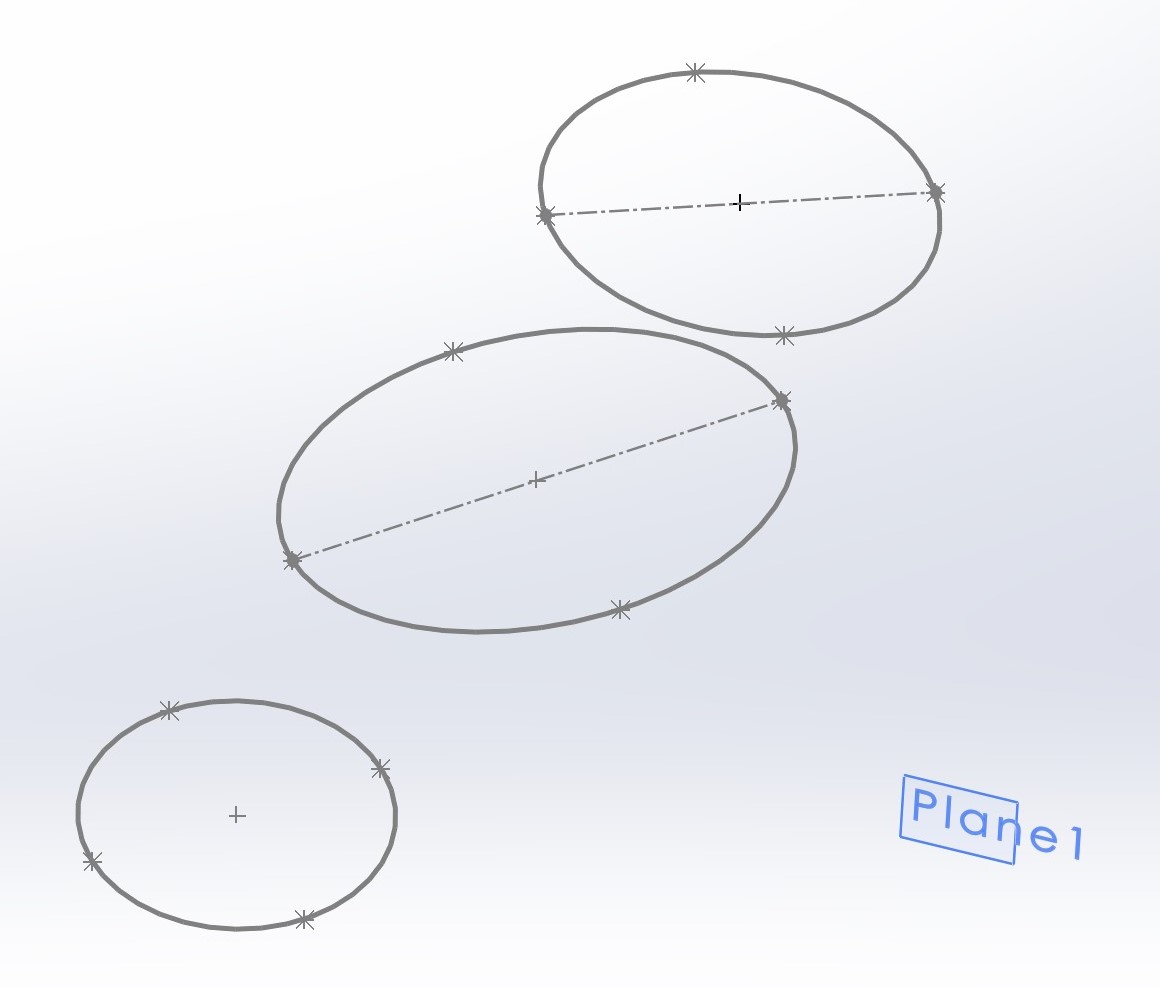
- Sketched three ellipses measured in reference to a box not seen in the picture to create the initial shape of the controller shape.
- Connect the three ellipses for the handgrip.
- Added lofts and fillets to add dimension to the handgrip.
- Sketched the buttons.
- Add fillets to add dimensions to the buttons.
- Sketched the joystick.
- Extrude cut to fit pieces together.
- More detailed in the GrabCAD link below.
Manufacturing Tips: Accounted
- It is a good rule of thumb for ribs to try and make them 60% of the main wall thickness (ex: 2.00 mm wall thickness means 1.20 mm ribs thickness).
- A basic PCB (printed circuit board) was modelled in the sense that a electronics designer gave me the design by basic dimension of the footprint of where important components are.
- That the joystick cut is 22 mm from top-down design to see how the joystick and controller interact to see how big the gab.

![]()
Manufacturing Tips: Unaccounted
- The buttons the switches has a gap. It is because don’t know the exact size of the switches or how to connect to the buttons. (reality will have more detail). The PCB may extend under the joystick or maybe edge connecter to the joystick, but the final product left like there.
Skills Learned
- Interference Detection in Evalue tabs > Calculate. Helps see if the product has overlaps.
- Parts could never be made to an exact size. There must be a certain tolerance, so a certain range of sizes. (ex: the Buttons cut is offset by 0.2 mm)
- Configurations Manager (create different version of same part through same part file)
- Parent vs. Child Relationship
- Fillets for dimensions and Mirrors (work smarter, NOT harder)
Overall Thoughts
The project thought me the power of resistance. How power it can be because there were a lot of times that I was fraustraued and wanted to give up, but I couldn't let myself do it! I told myself lefts try another way and try to find a better solution. Mutiple times and well...it worked because I was able to achieve the final product.
It is also best to get wide range of feedback for designs for multiple integration for development.